Easy Peasy Box Tutorial by Georgia!
This tutorial will show the basics of making a simple box bottom. From there, the sky’s the limit! For example, you can make a lid for the top just by cutting a square 1/16 of an inch larger than the first one. You can also adjust the length, width, and height of your box. You have complete control!
This tutorial makes a 3 x 3 x3 box (inches)
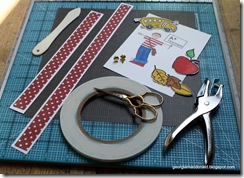
Materials
9 x 9 square DP cardstock
1- 1/2inch x 14 inches coordinated strip for the top border. Mount this on a 7/8 x 14 1/2 inch strip
Handle- 1/2 inch x 9 inches
Mount handle with a contrasting piece of card stock
2 brads
digi stamps for embellishments
I used the adorable S2G digi stamps for this project
double sided tape (scor pal tape)
scissors
hole punch
scor pal
bone folder
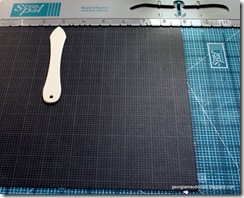
Step 1: Score at 3 and 6 inches
Rotate paper 90 degrees and repeat
(You now have a tic tac toe board)
crease scored lines with bone folder
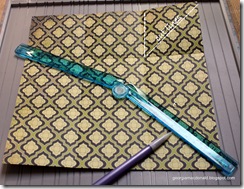
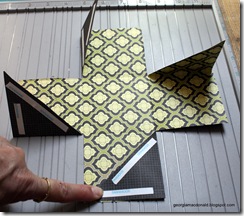
Step 2: At each corner square, draw a line on the diagonal.
Note the cutting lines marked on the top right square
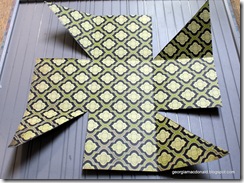
Step 3: Cut along the above mentioned lines in each corner piece.
Step 4: Add tape. Notice you are actually adding the tape to the outside of each corner triangle.
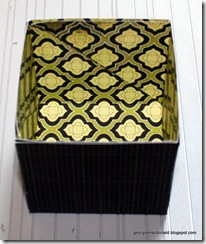
Step 5: Peel away tape (one triangle at a time ) and adhere to inside of the box. Almost finished!
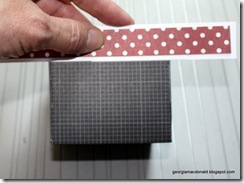
Step 6: Add border and handle
Embellish!
Another box using the same base. Made a second box 1/16 inch larger for lid .I used nesties to cut shapes for base and lid. Sandwiched the ribbon between lid and nestie shape.

